


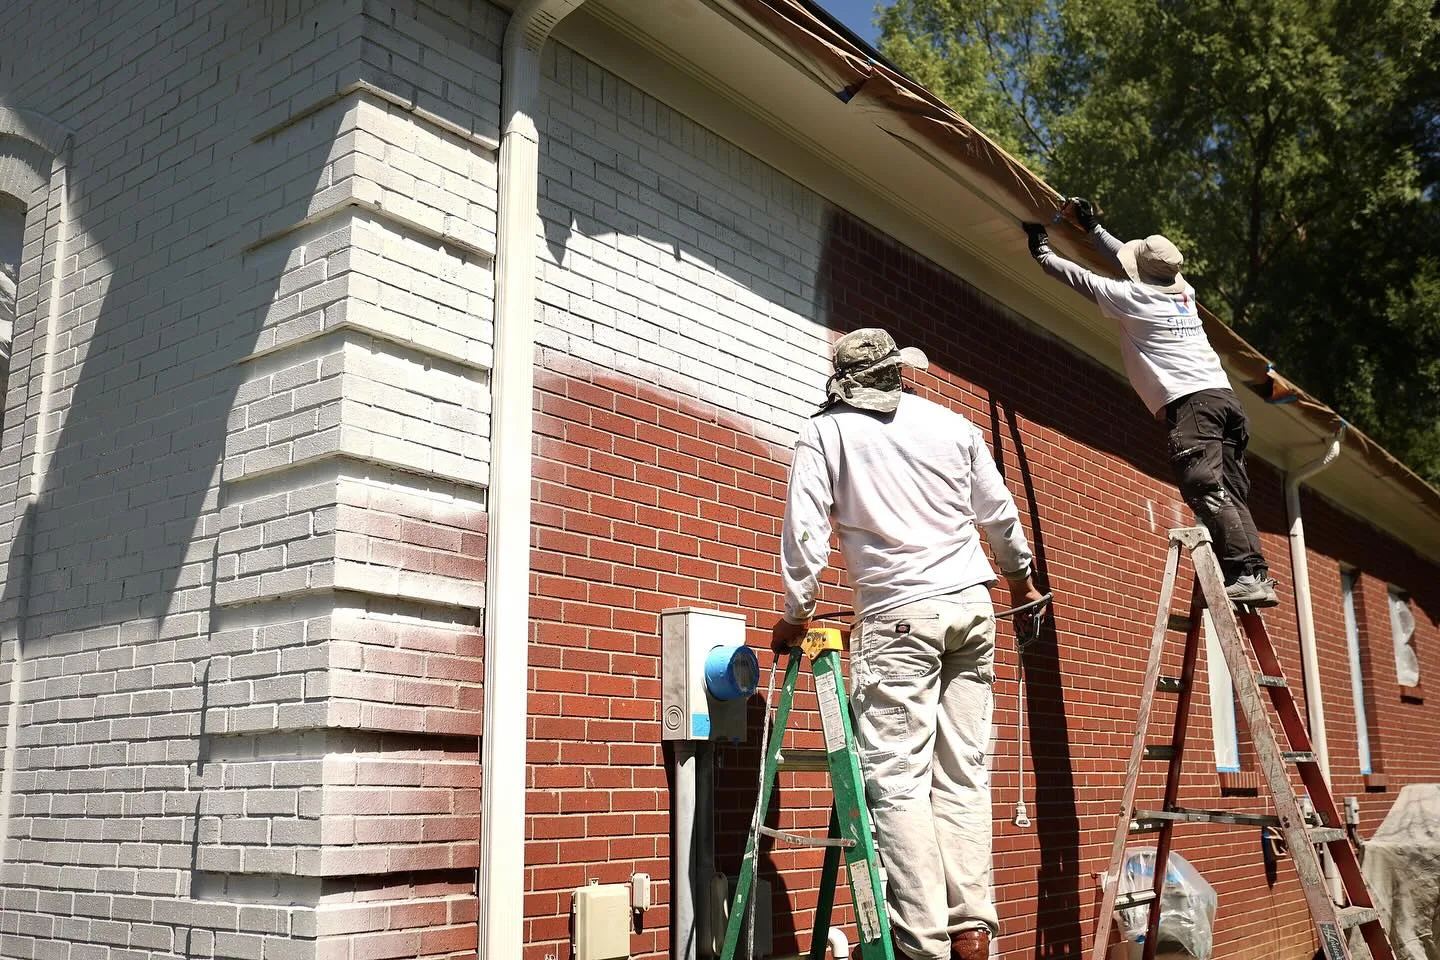
- ● Even premium paint fails over dirty, dusty, or unstable surfaces—prep, not brand, decides how long a finish lasts.
● The right order is clean → patch → sand → remove dust → prime—skip a step and the finish shows it.
● Leftover sanding and drywall dust are top causes of gritty, dull paint—wipe down before priming.
● You can’t paint directly over loose or peeling paint—scrape, sand the edges flat, and prime first.
● Older Louisville homes may have lead—sanding creates hazardous dust, so use lead-safe practices and protection.
It’s easy to get stuck on the paint brand. Everyone has a favorite. But in real homes across Louisville, long-lasting results come from paint preparation, not a fancy label.
Here’s the truth: even “premium” paint will fail if you apply it over dirty, dusty, or unstable surfaces. If you want a finish that looks smooth and holds up, wall prep is the main event.
Paint preparation: what it really means (and why it matters)
Paint preparation is everything you do before you open a can: cleaning, repairs, sanding, dust control, and sealing gaps. It’s what gives paint a surface it can grip.
When prep gets skipped, you’ll often see problems like peeling paint, rough texture, or flashing where patched areas show through. That’s why pros treat proper preparation as the foundation of the whole job.
Ask a veteran painter what actually determines the outcome and the answer isn’t the label on the can: “preparation is the most important part of a painting project” — the cleaning, patching, and sanding are the foundation a lasting finish is built on.
— Source: This Old House, “Prep for Success: Tips for a Pro-Level Paint Finish”
Wall prep checklist: how to prepare walls for painting
If you’re Googling how to prepare walls for painting or how to prep for painting, use this simple order. It keeps the job clean and avoids rework.
1) Protect the room first
Move furniture and large items away from the wall. Cover the floor. Give yourself enough space to work without bumping wet edges.
Take off switch plates and hardware so you don’t end up cutting in around them.
2) Clean walls until they’re actually clean
Before you prime or paint, clean walls to remove dirt, dust, grease, and grime. A bucket of soapy water works for many interiors. Some painters use sugar soap for heavier buildup.
Let surfaces dry fully. Paint hates moisture. If you paint too soon, adhesion suffers and the finish can fail early.
3) Patch holes and repair cracks
This step is what separates a “quick coat” from a professional result.
- Use a putty knife to fill holes, nail holes, and small cracks
- For larger repairs, use joint compound (a common compound) and proper patching
- Let repairs dry, then sand smooth with sandpaper until you have a smooth surface
This is where many DIY jobs go wrong. If you don’t sand enough, paint highlights the ridges. If you sand too aggressively, you can damage the paper face and create more repair work.
4) Sand and remove dust (don’t skip this)
Sanding helps paint bond. It also levels repairs so you get a smooth finish.
- Lightly sand glossy spots and patched areas
- Expect to generate dust—especially sanding dust and drywall dust
- After sanding, remove dust with a damp sponge or a tack cloth, then wipe the surface with a clean cloth
Dust left behind is a major cause of gritty, rough paint.
Old paint, peeling paint, and when you can’t “paint directly”
If you have old paint that’s loose, flaking, or bubbling, you can’t just paint directly over it and hope for the best. Remove loose material with a scraper or wire brush, then sand the edges flat.
If you see peeling spots, treat them like a warning sign. Paint only sticks as well as what it’s sticking to.
Caulk and tape: small steps that make a big difference
Once surfaces are clean and repaired, tighten up the details:
- Seal small gaps with paintable caulk
- Use paint tape (or painter’s tape) for clean lines on trim, corners, and delicate areas
- Press tape down firmly so paint doesn’t bleed under the edge
This part isn’t glamorous, but it’s how you get crisp edges.
It’s the unglamorous middle of the checklist that carries the finish: “proper preparation ensures the paint adheres well” and lasts — the cleaning, caulking, and crisp taped edges are what a professional result is actually made of, long before the color goes on.
— Source: Remodelista, “12 Questions to Ask a Painter Before You Hire”
Primer and coats: why one coat often isn’t enough
Primer isn’t optional in many cases. Use it on repairs, stains, bare drywall, and when covering a dark color with a lighter one.
Then apply your paint system. Sometimes one coat works for same-color refreshes on walls in good condition. More often, it takes several coats to get even coverage and a consistent sheen. Each coat needs the right dry time. Don’t rush it.
Pros are firm on one primer rule that DIYers skip: always prime bare and patched areas, because a stain-blocking primer keeps tannins and marks from bleeding through — and on already-painted walls in good shape, “some spot priming may be all you need to do.”
— Source: Family Handyman, “Painting Preparation: Prepare the Surface”
Safety matters during prep (especially with lead dust)
Older homes may have layers that contain lead. Sanding can create lead dust, which can cause serious adverse health effects, including brain damage. This risk is higher for children and pregnant women.
If you suspect lead paint:
- Use proper protective equipment
- Wear a NIOSH approved and properly fitted respirator
- Set up proper containment and focus on controlling exposure
- Follow local rules—hazardous substances requires careful handling, and your local health authority can guide you
For lead safety info, contact the National Lead Information Center at 1-800-424-LEAD.
When exterior prep matters even more
Exterior surfaces take a beating. That’s why prep often includes washing (sometimes power washing) before priming and painting. Concrete, masonry, and siding each need the right approach. What matters is the same goal: a clean, solid, dry surface that paint can bond to.
Outside, the enemy is weather as much as dirt — a wall that’s washed, scraped, and fully dry before the first coat is what lets an exterior finish survive Louisville’s rain, humidity, and freeze-thaw.
Want a painter who won’t cut corners on prep?
If you want a long-lasting paint job in Louisville, look for a contractor who talks more about prep than product hype. For interior painting and exterior work alike, Alarcon Pro Painting is known for prep-first systems and detail-focused work.
“We’d rather spend an extra afternoon on prep than come back in a year to fix peeling. Washing, patching, sanding, dust removal, priming — that’s the boring work that decides whether your walls still look sharp in five years. When a homeowner asks us which brand we use, our real answer is: the brand matters far less than what happens to your walls before we open the can.”
— The team at Alarcon Pro Painting, Louisville, KY
Ready to talk through your prep plan before you start painting? Schedule an estimate with Alarcon Pro Painting.

